Parallel Skiing Tips & Tricks For Intermediates
What is parallel skiing?
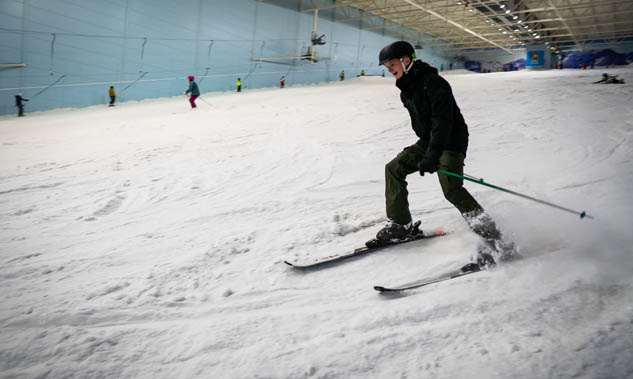
Parallel skiing is the sort that looks good on the slopes. Your feet and skies are parallel to each other rather thin in the V-formation of the snowplough. Once you get to grips with the basics you can move faster, turn quicker and start to get a bit of swagger in your walk as you stride onto the slopes.
So once you are confidently snowploughing you are read to move on to improver lessons and get those skies parallel. Luckily for you, you don’t have to go to the expense of popping off to the Alps every weekend to get good at it; Chill Factore’s slope in Manchester is the UK’s best slope for practising parallel skiing techniques. We can provide everything you need from skies, boots and clothes to slope to ski down whilst doing it.
How to move from snow plough to parallel?
Step one - Balance
The first thing you need to be able to do is balance your weight on your outside ski when turning. Ski on one leg? On purpose? Surely this is madness! I know, it sounds ridiculous doesn’t it? But once you’ve mastered this you’ll be able to get the hang of parallel skiing.
When performing a snowplough turn, your weight stays fairly evenly distributed over both skis. With parallel skiing your weight moves to being mostly over the outside ski.
When entering the turn, bend your knees and shift all of your weight over to the outside ski. When you exit the turn return your weight to both skis. Keep practising this until you can actually lift your inside ski off the ground completely for the whole turn.
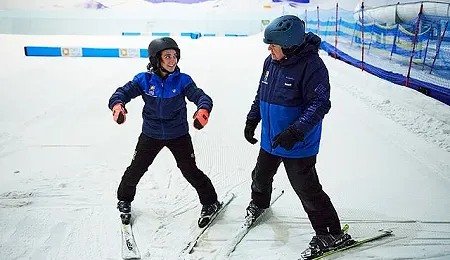
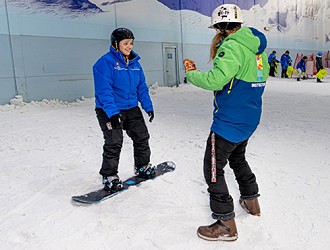
Don’t worry, no-one expects you to pick it up straight away, nor to be able to do it without a bit of instruction and help along the way. Not only does the Chill Factore have a great slope but we have some pretty awesome instructors on hand to show you the way too.
Step two – Finding Your Edges.
You need to move your weight from being just over the outside ski to being on the inside edges of both skis. When you turned on one ski you probably noticed that you were pressing the inside edge of that ski into the snow rather than travelling on the smooth bottom of the ski. This is known as edging and is the backbone of parallel skiing.
At this stage you’ll learn how to put that leg you’ve been lifting up back down onto the snow, how much weight to put on it and and how to use that weight to press the edges of the skis into the snow to turn. Our ski slope at Chill Factore is at a cool 15 degree angle which is equivalent to a hard blue or easy red run up in the mountains – perfect for learning this technique on.
This is where you start feeling as though you are powering into the turns like a pro. You’ll also suddenly find a use for those poles you’ve been carrying about with you too – and I don’t mean just helping you get up when you fall.
Step 3 - Getting Your Skis To Do The Work For You.
When you master this bit, everything suddenly becomes so much easier, more graceful and 10 times more awesome.
When you were bending your knees and then standing tall learning how to use your edges you probably noticed that you were performing a sort of bobbing motion. Exaggerate this and keep practising it. Bend your knees to turn, stand tall to shift your weight before you the turn and bend your knees into the turn again.
It’s all about using your weight and gravity to make the skis work for you. This is what they don’t tell you when they have you side stepping up the hill and snow ploughing back down in beginner classes – skiing isn’t supposed to be sweaty and hard work. Soon you’ll be gliding effortlessly down the slopes. Whilst looking magnificent, obviously.
Practice, Practice, Practice
None of this is difficult, there’s no great mystery behind it. It is simply a case of practising as often and as much as you can until you don’t even have to think about it anymore – your body just does it.

